Basic workflow
Basic workflow#
We are going to load one of the very small datasets that are packaged with
pykanto—this will be enough to check that everything is working as it should
and to familiarise yourself with the package. See project
setup to learn how to load your own data.
Note:
Creating a KantoData dataset requires that you have already set up your project directories (see project setup). Before either step, long files need to have been segmented into smaller chunks of interest (e.g., songs, song bouts). See segmenting files for more information.
Of the datasets packaged with pykanto, only the GREAT_TIT dataset has already been segmented. If you want to use another dataset, you will need to segment it first, as demonstrated in segmenting files and feature extraction.
The GREAT_TIT dataset consists of a few songs from two male great tits (Parus major) in my study population, Wytham Woods, Oxfordshire, UK. Let’s load the paths pointing to it and create a KantoData object:
from pykanto.utils.paths import pykanto_data
from pykanto.dataset import KantoData
from pykanto.parameters import Parameters
DATASET_ID = "GREAT_TIT"
DIRS = pykanto_data(dataset=DATASET_ID)
# ---------
params = Parameters() # Using default parameters for simplicity, which you should't!
dataset = KantoData(DIRS, parameters=params, overwrite_dataset=True)
dataset.data.head(3)
Show code cell outputs
2023-02-28 11:36:45,976 INFO worker.py:1519 -- Started a local Ray instance. View the dashboard at 127.0.0.1:8266
Done
| species | ID | label | recorder | recordist | source_datetime | datetime | date | time | timezone | ... | upper_freq | max_amplitude | min_amplitude | bit_depth | tech_comment | noise | onsets | offsets | unit_durations | silence_durations | |
|---|---|---|---|---|---|---|---|---|---|---|---|---|---|---|---|---|---|---|---|---|---|
| 2021-B32-0415_05-11 | Great tit | B32 | 24F319055FDF2205 | Nilo Merino Recalde | 2021-04-15 05:00:00 | 2021-04-15 05:07:22.866667 | 2021-04-15 | 05:07:22.866667 | UTC | ... | 5922 | 0.673711 | -0.666701 | 16 | Recorded at 05:00:00 15/04/2021 (UTC) by Audio... | False | [0.29024943310657597, 0.5108390022675737, 0.74... | [0.38893424036281177, 0.615328798185941, 0.847... | [0.0986848072562358, 0.10448979591836727, 0.10... | [0.12190476190476196, 0.1277097505668935, 0.14... | |
| 2021-B32-0415_05-15 | Great tit | B32 | 24F319055FDF2205 | Nilo Merino Recalde | 2021-04-15 05:00:00 | 2021-04-15 05:08:16.520000 | 2021-04-15 | 05:08:16.520000 | UTC | ... | 5694 | 0.356706 | -0.351275 | 16 | Recorded at 05:00:00 15/04/2021 (UTC) by Audio... | False | [0.34829931972789113, 0.592108843537415, 0.835... | [0.45859410430839004, 0.6907936507936508, 0.96... | [0.1102947845804989, 0.09868480725623585, 0.12... | [0.13351473922902496, 0.14512471655328796, 0.1... | |
| 2021-B32-0415_05-21 | Great tit | B32 | 24F319055FDF2205 | Nilo Merino Recalde | 2021-04-15 05:00:00 | 2021-04-15 05:09:27.600000 | 2021-04-15 | 05:09:27.600000 | UTC | ... | 5739 | 0.189776 | -0.188388 | 16 | Recorded at 05:00:00 15/04/2021 (UTC) by Audio... | False | [0.46439909297052157, 0.7314285714285714, 0.98... | [0.5863038548752835, 0.8359183673469388, 1.126... | [0.1219047619047619, 0.10448979591836738, 0.14... | [0.14512471655328796, 0.14512471655328796, 0.1... |
3 rows × 23 columns
Tip: using an IDE
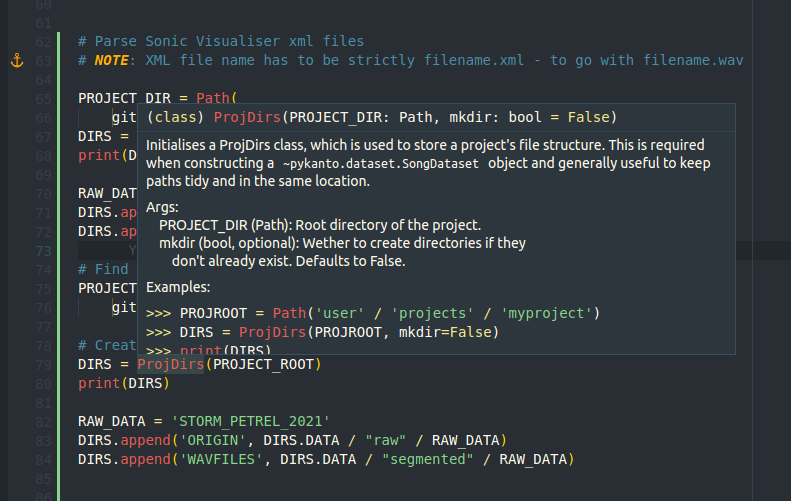
If you don’t already I highly recommend that you use an IDE to write and run your code, such as vscode or PyCharm. Among many other benefits, you will be able to see the documentation for each function in pykanto on hover:

We now have an object dataset, which is an instance of the KantoData class and has all of its methods.
Tip:
See how to create and use a KantoData object for more details.
For example, you might want to segment your songs into discrete notes using pykanto’s algorithm, which is a simple amplitude-based method that works reasonably well (based on Tim Sainburg’s vocalseg and Robert Lachlan’s de-echoing method in Luscinia).
# Segment:
dataset.segment_into_units()

# Plot an example:
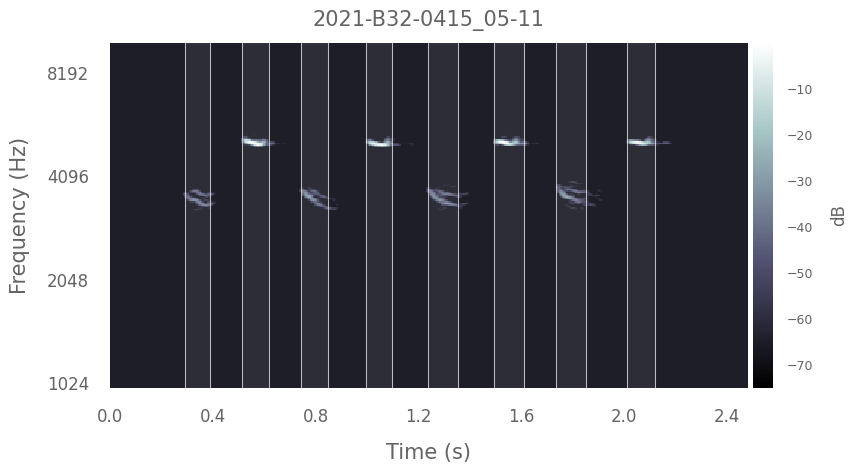
dataset.plot(dataset.data.index[0], segmented=True)
Using existing unit onset/offset information.
Found and segmented 169 units.
UserWarning:
    The vocalisations in this dataset have already been segmented: will use existing segmentation information.If you want to do it again, you can overwrite the existing segmentation information by it by setting `overwrite=True`

Next, you can create spectrogram representations of the units or the average of the units present in the vocalisations of each individual ID in the dataset, project and cluster them, and prepare compressed representations that can be used with the interactive app:
dataset.get_units()
dataset.cluster_ids(min_sample=5)
dataset.prepare_interactive_data()
Show code cell outputs
Found 2 individual IDs. They will be processed in 2 chunks of length 1.
Found 2 individual IDs. They will be processed in 2 chunks of length 1.
(_reduce_and_cluster_r pid=138856) UserWarning:
(_reduce_and_cluster_r pid=138856)     `min_cluster_size` too small, setting it to 2
(_reduce_and_cluster_r pid=138855) UserWarning:
(_reduce_and_cluster_r pid=138855)     `min_cluster_size` too small, setting it to 2
Now you can start the interactive app on your browser by simply running dataset.open_label_app().
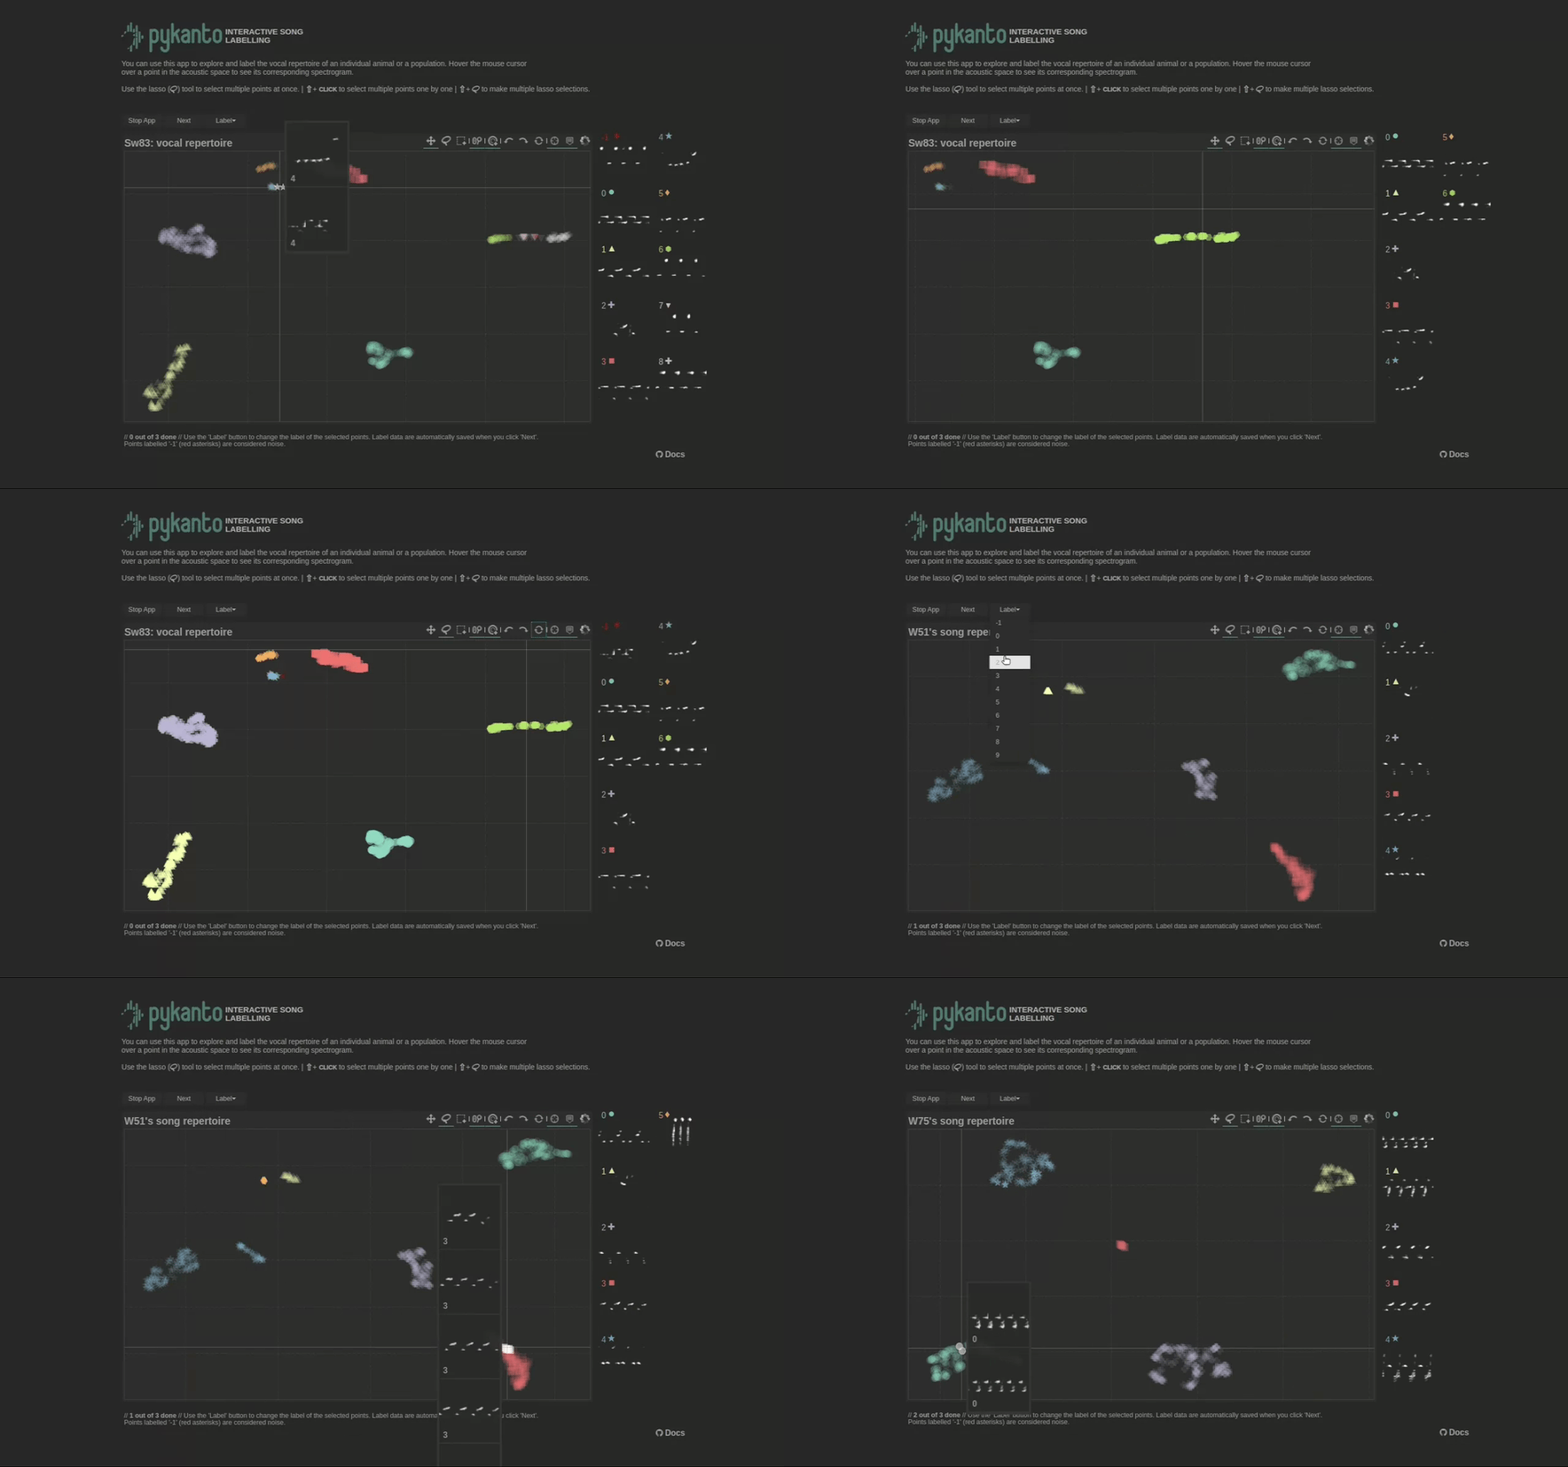
There are not enough data in this minimal dataset to show how the app works: clustering cannot work well with such small sample sizes. But here is a gif showing what it would look like with a real dataset from these birds:

To learn how to use the interactive app, see using the interactive app. Once you are done checking the automatically assigned labels you need to reload the dataset:
dataset = dataset.reload()
Now you have a dataset containing the raw audio files, their spectrogram representations, onset and offset times, and element or song type labels. Happy sciencing!